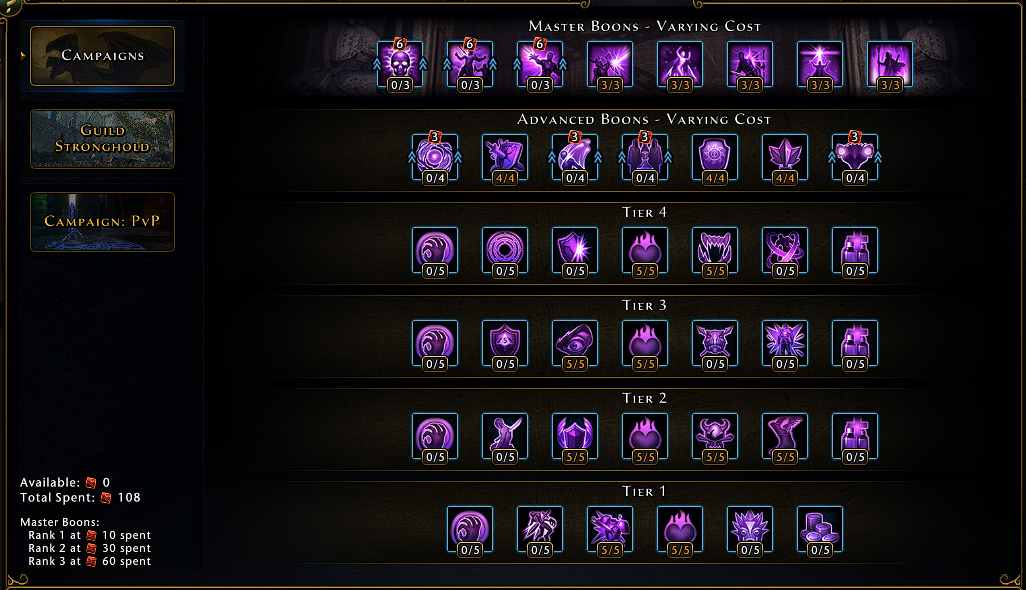
A possible but not optimal boon choice! (The image also shows the bugged Advanced Boon costs, because of repeately resetting the boons. Be careful with that!)
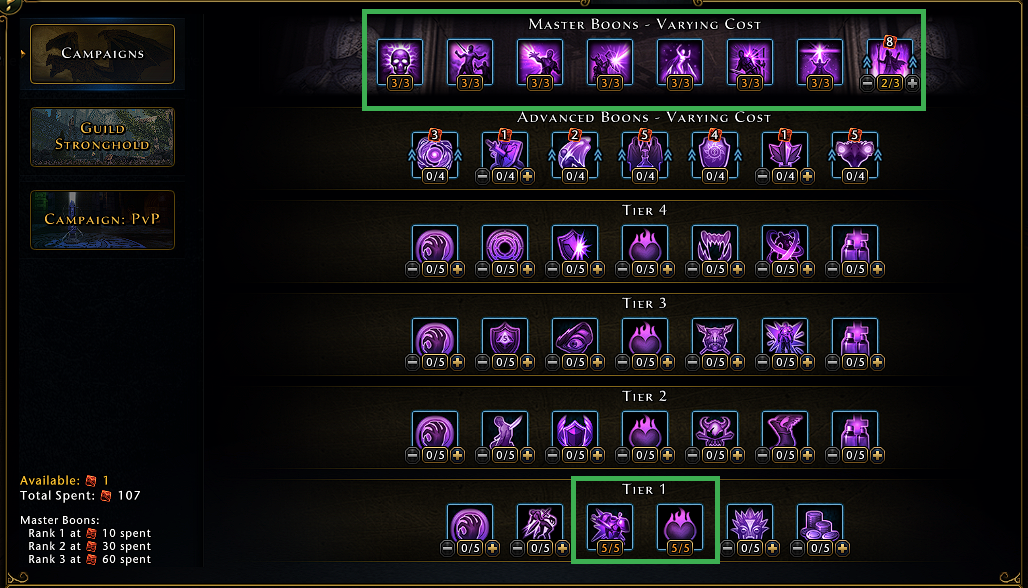
A possible but not optimal boon choice! (The image also shows the bugged Advanced Boon costs, because of repeately resetting the boons. Be careful with that!)